Cacti are a popular choice of houseplant as they are low maintenance and full of character. They also have some useful features. They can absorb and store water, remove toxins from the air and help to keep the air in your home fresh. To repot cactus is easy.

Whilst cacti are easy to look after and only need feeding once a year, there are certain things that you need to do to keep them healthy. You should grow your cactus in a terracotta pot rather than a plastic pot, as they are porous and allow water and air to flow through them.
A plastic pot will retain water and restrict airflow around the plant. Use free-draining compost or specialist cacti compost for the best results. You should water your cactus in the spring and summer, but let the compost dry out in between waterings.
Another important part of cactus care is to repot the plant when the roots reach the sides of the pot to prevent it from becoming pot bound. This will usually need to be done every 2 to 4 years, but if you spot roots coming out of the bottom of the pot then this is a sign that the plant needs repotting.
If you don’t periodically fertilize the compost then you will need to repot the cactus every 2 years or so to replenish the soil. Keep reading to find out how to report your cactus properly so it can continue to grow and flourish.
What Do You Need To Repot A Cactus?
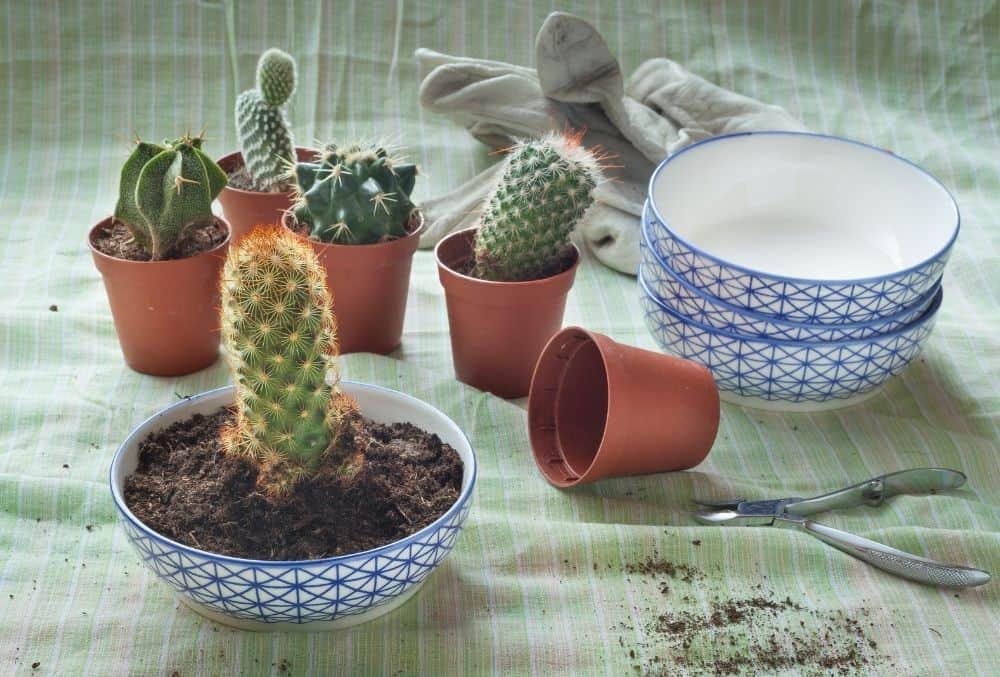
There are several things you will need in order to repot your cactus. You should make sure that you have all of these items to hand before you begin.
The first thing you need is the new pot you plan on using. It needs to be bigger than the previous pot, with room for the cactus to grow into.
But keep in mind that cacti like a snug pot, so just one size up from the previous pot should suffice. You will also need compost to fill the pot with – either cactus compost or free draining compost- and horticultural grit. You will need a tea towel.
If you don’t have one then you can use sheets of newspaper, but a tea towel will work best. In terms of tools, the only thing you really need is a fork, and a trowel if you don’t want to handle the compost with your hands.
Step 1
The first thing you need to do when repotting your cactus is to prepare the new pot. You can do this by filling the pot half way with your chosen compost. Do not fill the pot all the way to the top at this point, as you need to leave room for the plant.
Step 2
Cacti are known for their spikes, and this feature can make them more challenging to repot than other plants.
You will need to handle the plant without hurting yourself, which is where the tea towel comes in. Fold the tea towel into the long rectangle and loop it around the body of the cactus plant.

Whenever you handle the plant, only touch the part that is covered with the teatowel. This will ensure that your hands are protected at all times.
Step 3
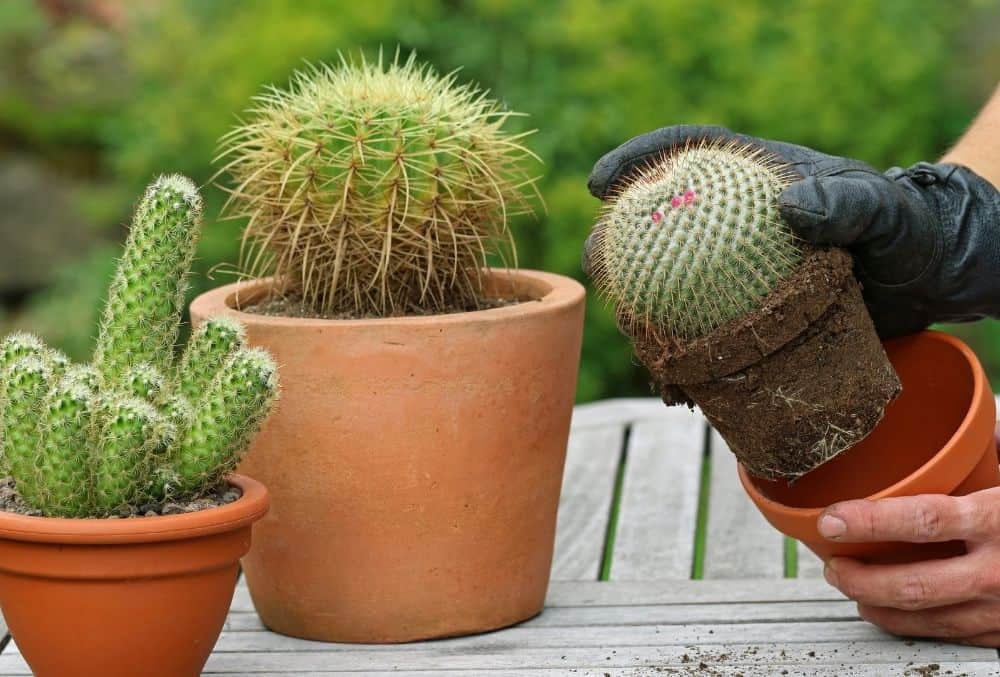
The next step is to remove the cactus from the pot it is currently in. It could get messy, so make sure you are outside or you have placed a sheet down on the floor to catch any compost mess.
You need to be careful not to damage the plant as you do this. Start by leaning the pot very gently on its side. Put a towel down if needed to ensure you don’t damage the spikes or the plant on the hard surface.
Hold the teatowelled section of the cactus plant to ease it out of the pot.
Step 4
Once the plant is out of the pot, you will be able to get a good look at the roots. This is a great opportunity to check on the health of your cactus plant, as the roots are usually buried in soil.
Check for any signs of pests or disease. Use a fork to gently tease out any roots that have become compressed, as this will help them to grow and spread nicely when the plant settles into its new pot.
This needs to be done carefully to ensure you don’t tear or damage the roots. There will still be compost from the old pot clinging to the root ball – this is fine, it doesn’t need to be removed.
Step 5
It is now time to put the cactus plant into the new pot. Use the tea towel to carefully lift the cactus up and place it into the larger pot. It should sit at roughly the same depth as it did in the last pot.
If there is not enough compost in the pot then lift the cactus out again and add a bit more.
Step 6
Once you have placed the cactus plant into the pot and are satisfied with its positioning, it is time to fill the rest of the pot. Add compost around the root ball, filling up the pot. Gently pat the compost down as you go- this is important as it removes unwanted air pockets in the compost surrounding the plant.
Don’t fill the pot all the way to the top with compost- leave about an inch or so at the top. Once there is enough compost, you can top-dress the plant with grit. Spread a layer of horticultural grit over the compost.
Step 7
Once you have repotted the cactus, you will need to water it. The amount of water the cactus plant needs will depend on the type of plant, but the new soil will need a good amount of water.
Once the cactus plant has been watered, you can return it to it’s spot- a nice sunny spot works best, like a windowsill in a bright room.


